-
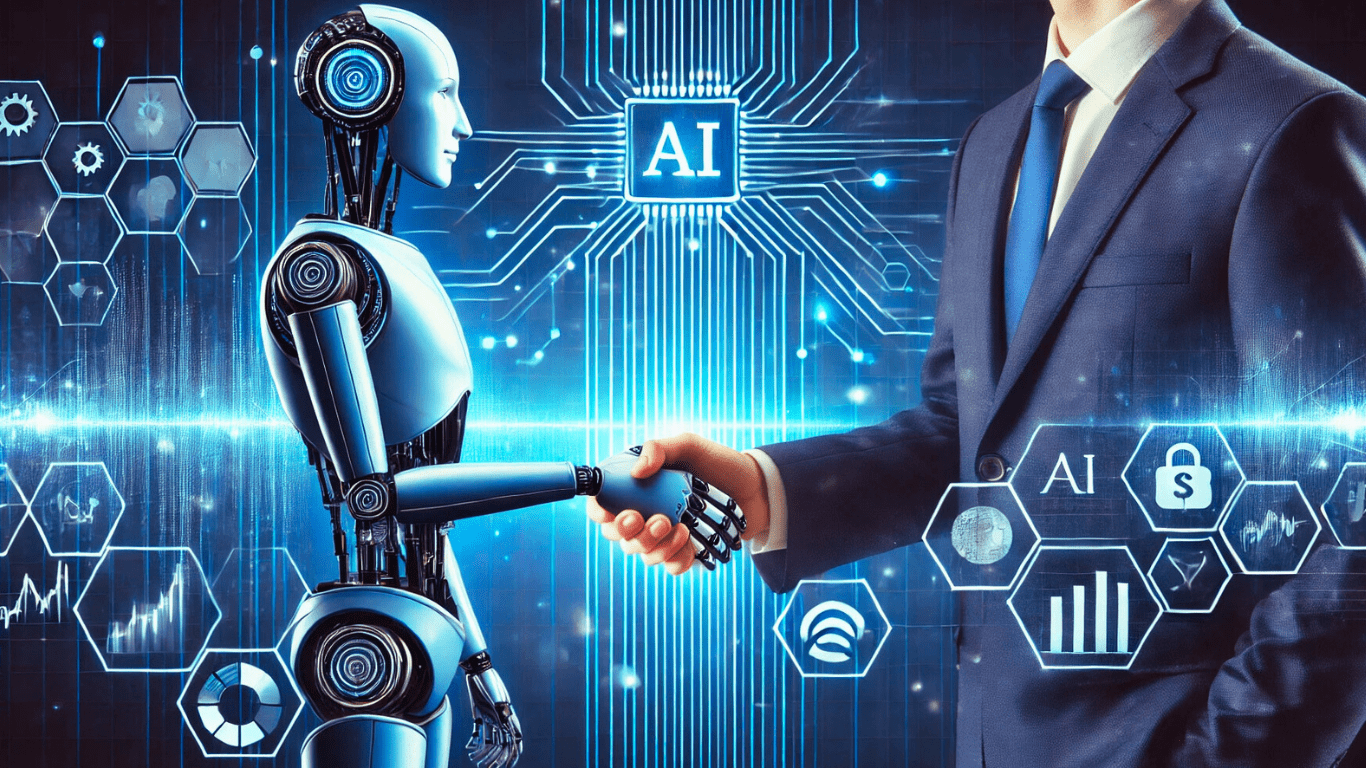
The intersection of artificial intelligence and senior care is rapidly reshaping how older adults live, receive support, and maintain independence.…

-

AI Cognitive Monitoring for Elderly Brain Health
As populations age worldwide, maintaining brain health in older adults has become a top…
-

Top Benefits of AI in Senior Care You Should Know
Artificial intelligence is rapidly transforming many aspects of our daily lives, and its impact…
-
How AI Gadgets Update Themselves
Smart devices powered by artificial intelligence are now common in homes and workplaces. From…
In 2025, while not everyone consciously uses AI, a majority of the world’s population is already relying on it indirectly. The shift toward AI integration is widespread across industries and personal technology.
Photo Editing


Automotive Tech
-
In today’s digital age, photography has become an integral part of our lives. Whether you’re a professional photographer or someone who enjoys capturing moments on the go, having access to…

-

Ai powered car rental management
In today’s rapidly evolving world, technological advancements are becoming an integral part of various…
-
Ai vehicle telematics solutions
The world of vehicle technology is evolving rapidly, and at the heart of this…
-

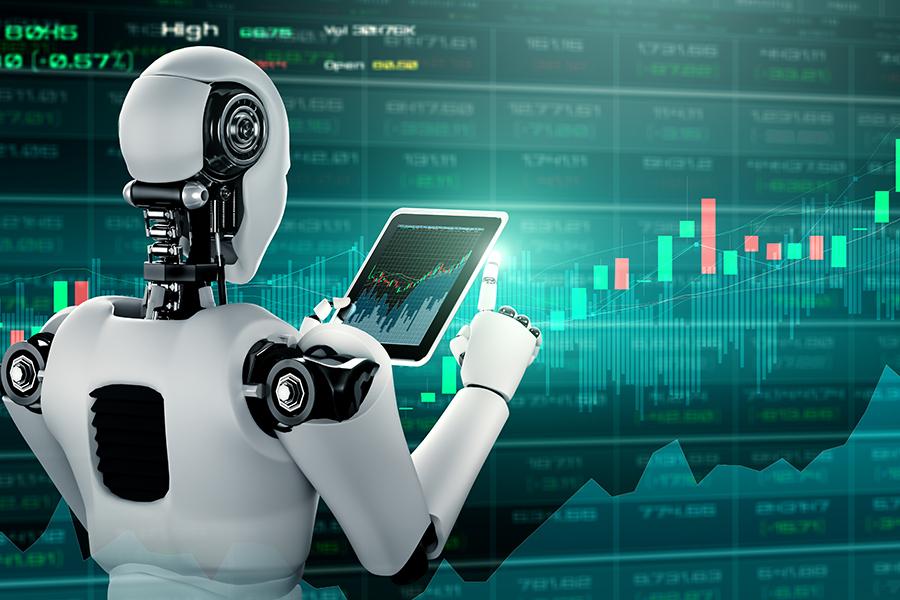
Ai personal finance dashboard
In today’s fast-paced world, managing personal finances can be a daunting task for many…
Finance & AI
-

Ai in regulatory compliance for banks
In today’s rapidly evolving financial landscape, the integration of AI in regulatory compliance for banks has become a hot topic. The banking sector is under constant scrutiny to ensure it…
-
Ai in financial customer segmentation
The financial sector has always been at the forefront of embracing cutting-edge technologies. Among these innovations, AI in financial customer segmentation stands out as a transformative force. Its impact is…
-

Ai in cross border payments
In today’s interconnected world, the need for efficient and secure cross-border payments is more critical than ever. AI in cross-border payments is revolutionizing the way global transactions are conducted, offering…
-
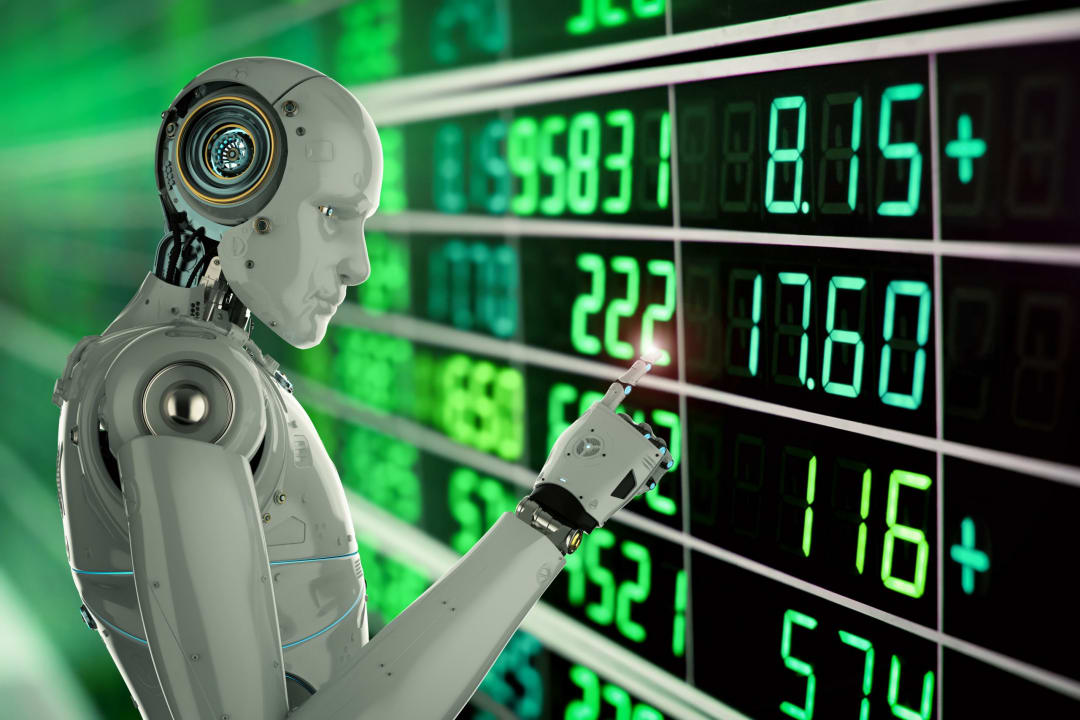
Ai based risk scoring systems
In the rapidly evolving landscape of financial technology, AI-based risk scoring systems have emerged as a transformative force. These systems are designed to enhance credit assessment and improve decision-making processes.…
-

Ai in financial engineering
Artificial Intelligence (AI) has revolutionized various industries, and the finance sector is no exception. With the integration of AI in financial engineering, businesses are witnessing unprecedented changes that are shaping…
-
Ai in bank loan underwriting
In the ever-evolving landscape of financial services, the integration of AI in bank loan underwriting is revolutionizing the way banks evaluate and approve loan applications. As technology continues to advance,…
